It was not a good day to wear a jacket anyway. Warm and very high humidity after days of exceptional rain.
Where am I then with the jacket? The sleeves are inserted and it’s down to sewing the lining.
The picture below shows the interfacing of the sleeves. At the upper part the pattern pieces are interfaced with a light weight fusible, the hem with a heavy weight fusible. I already did this when interfacing the body part, to do all the interfacing in one go. If you look closely you can see that I traced the essential points again (top of sleeve, end of seam) with carbon tracing paper.

After stitching I made long straight stitches to gather the top of the sleeve a bit.

The sleevecap I made as I did before, using a method that is described by Ann Rowley. This time I made some photos myself too.
A strip of batting fabric is used, about 20 centimeters long (8 inch) and 3.5 cm wide and pinned to the inside of the sleeve, with the edge of the batting to the edge of the seam allowance of the sleeve. For this jacket I used a thin batting, for a winter coat I would have used a bit thicker fabric.

The strip is stitched from the jacket side, just beside the existing stitch.

The batting is then folded over the seam and stitched in the ditch.


The protruding batting is cut away after this stitching.

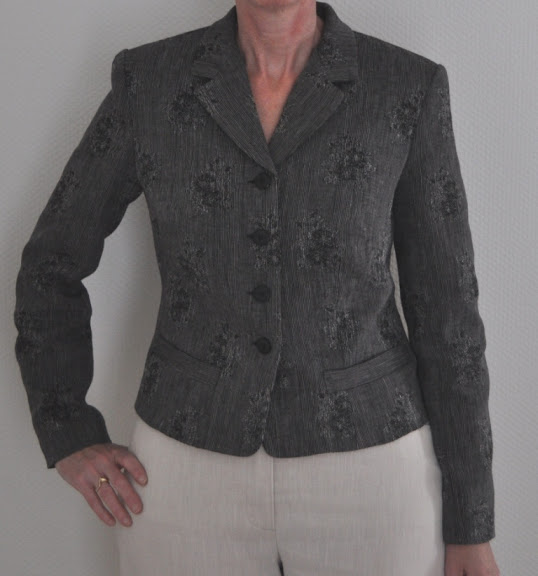
I used thin, felt shoulderpads (the classic tailoring type) that I attached to the batting and at the end at the shoulder seam. In the photos below you can see the difference a shoulder pad makes. The effect differs with different fabrics. I’m not after the 80’s look with wide shoulders, but I like the look after adding a small shoulder pad


It might all be a bit much tailoring for a summer jacket, but it looks so much better. And it will wrinkle less too. I made a jacket years ago using quite a few of these techniques on a linen fabric. It’s been a much worn item in my closet, hardly wrinkles despite being linen and not showing any signs of wear either.
Browsing through my pictures to find this one was fun. So many clothes I had forgotten about (blush). This was from 2010! Yes, time flies….
Oh my! The roll on that sleeve head is gorgeous! Certainly worth the effort. I'm sure the new jacket will be lovely and much worn.
ReplyDeleteYou really do sew beautiful jackets. This is going to be gorgeous. Such a pretty color.
ReplyDeleteI agree with Nancy, you do sewing beautiful jackets!
ReplyDeleteThank you for those photos. I have not attempted a serious jacket yet, and this information really helps to visualize how it is all suppose to work. The fabric is lovely too. Have a nice summer!
ReplyDeleteBeautiful, just beautiful! It definitely is no weather to be wearing a jacket like this. But this can be worn on mild falldays as well. I just can't get over how great this blue fabric is. I love it!
ReplyDeleteCongratulations with your son!
Hi people,
ReplyDeleteThank you so much for this wonderful article really!
If someone want to learn more about bra straps I think this is the right place for you!
I think browsing through my blog pictures is always a fun trip down memory lane. Congrats to your son and on your lovely new jacket....both must make you so proud.
ReplyDelete