Showing posts with label t-shirt. Show all posts

Friday, March 20, 2026

An elevated tee

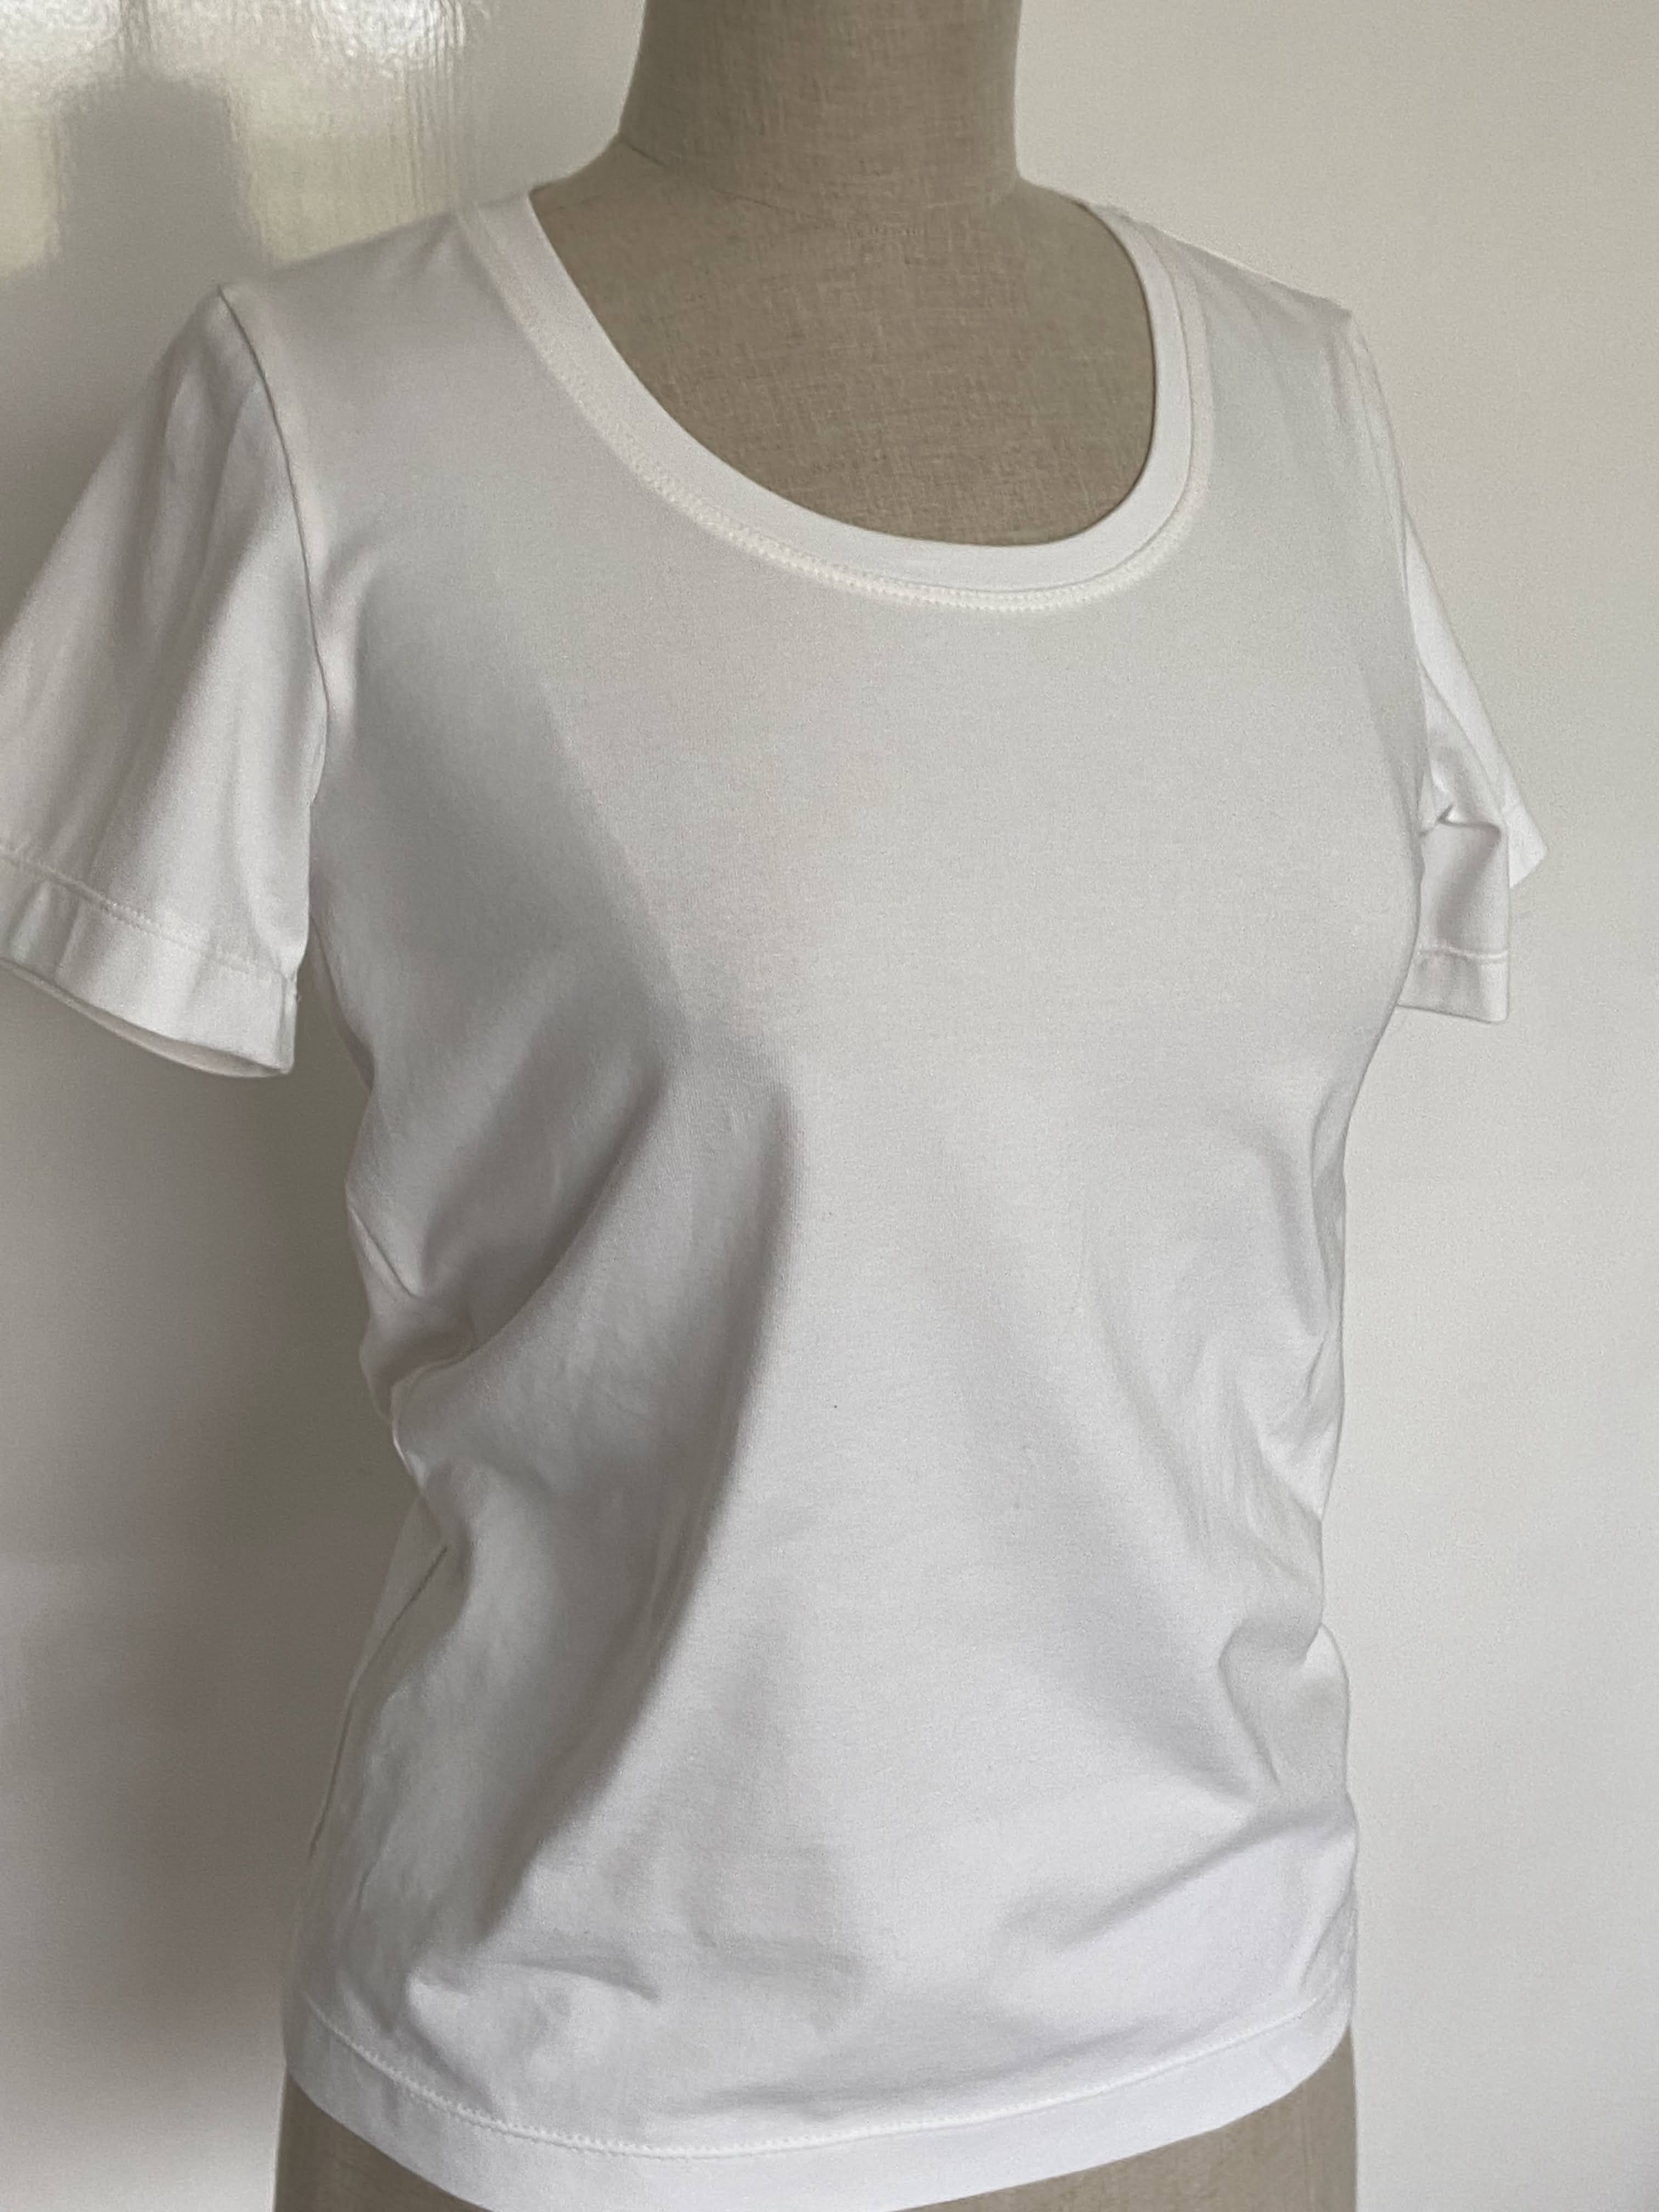
Collage Sage top
A quick and easy sewing project and tnt for me. I've made this pattern (Ottobre 2/2020, Sage top) once before as it is shown in the magazine and twice with an adapted neckline. 

Ottobre design photo

Line drawing Sage top
The original has a plain neckline that is just turned back and topstitched. When I made this in a streped version I drafted a line 5 cm (2 inch) wide from the edge of the neckline in and used a different direction for the stripes.
Striped version Sage top
This photo is from a top I made about 3 years ago and is still in rotation in spring/summer. Yesterday I took this pattern out and made it again in the green version of the collage in the first photo. 
An extra detail in this plain version is the thread, that changes in colour. Originally I used it for an accent when topstitching a pair of gym leggings and thought it suited the green fabric perfectly.
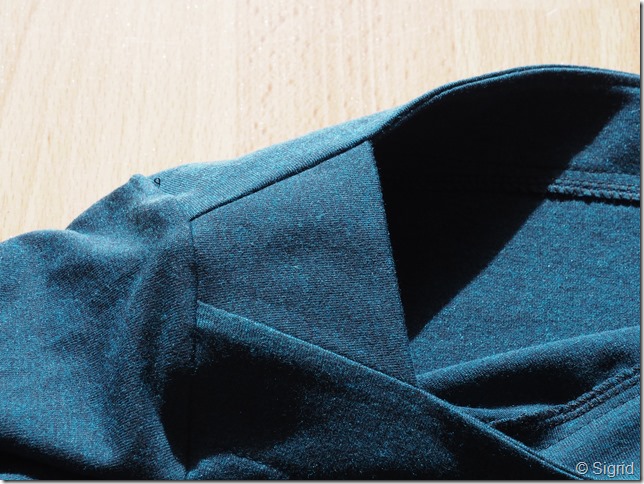
Back neckline

Front neckline

Sage top Ottobre


Sunday, April 16, 2023

Sewing for my daughter


About two weeks ago my daughter asked me whether I had any special plans for this weekend and on my answer that I had nothing planned she asked me whether I liked to have a sewing weekend. She wanted to sew together, so that she would get back in the groove of sewing and could get a little help. What does a mother say to such a request? For me it's a very rhetorical question. Of course I would like that. So that's what we did this weekend, sewing together. We even found time for some baking. Confess that my DH was a little neglected this weekend 😉. 
The tally is 5 tops and one pair of trousers altered! Easy patterns, most of them used before, all but one using the same colour thread which reduced time needed for changing thread on three machines (sewing machine, overlocker and coverstitch). I made her a couple of tops (after 50 years of sewing I can sew pretty fast if I want to, usually take my time though) and my daughter traced and made one top on her own. 

First is a top with layers from Ottobre 2/2014 with layers at the front. Rolled hems on the layer pieces.This was the most important piece as it is needed in two weeks time for a wedding she'll attend, but not difficult. 

Number two and three: t-shirts. On the left an Ottobre pattern I used before but changed a bit for the look she wanted this time (a bit wider, short sleeves a bit wider too than the original version). On the right the Bobbie pattern by Jalie, for which I made a curve to the armholes and added a cuff. Based on a photo of a shirt she liked.


Shirt 4 is the same Ottobre pattern, but then in original width of body and sleeves:


Last but not least the top my daughter made completely by herself, using a Burda pattern:

I'm proud of her doing this on her own. She asked a few things, but I only had to confirm that her way of thinking or doing something was correct. 

Finishing off with one sewing detail I'm pretty chuffed about: a v-neck topstitching done on my coverstitch. 

Needless to say my daughter went home happy. It was a lovely weekend, today the weather was especially good for sewing (cold and grey where I live). Back to work and household chores now. And of course thinking about the next project for myself! I already got a dress finished I want to show you, so stay tuned!


Tuesday, January 3, 2023

First project of 2023


This t-shirt was inspired by one a friend wore a couple of years ago. I have made a similar one (never blogged about) at the time and thought it was time to do it again. 

I used a basic t-shirt pattern and made it into this pattern. The original inspiration piece had a higher neckline, this one was drafted with a lower neckline. It's the sort of change you can do easily.

As I always like to share the process, below my process in 7 steps. In the past year I made the move to digital pattern drafting and making my own pdf patterns, even for personal use only. Must say that's someting from someone who has been opposed to pdf patterns for a long time! 

The main advantage of digital drafting? No paper! Easy to keep an original, start again, save it in a folder on my computer, work on a draft when not at home, etc. The downside is that it's costing more than pencil and paper. I've used Adobe Illustrator initially because other programs couldn't do some essential things in pattern drafting (like measuring the length of a curve). Recently Affinity Designer 2 was launched, which is the program I used this time. This new version can measure curves and while it doesn't have all the bells and whistles of Illustrator, you can surely draft patterns with it. Big advantage is that you buy the program and there's no subscription fee! I'm not affiliated, but like to share this in case some of you are interested in digital pattern drafting but the cost of Illustrator is too high (it's a ridiculous high amount if you only use it for a hobby and probably occassionally). 

I'm working on a tutorial of using Affinity Designer 2 for sewing patterns. Let me know if there's something you would like to see!


Wednesday, November 25, 2020

From disaster to acceptable

As we all know you sometimes want to get a little outside your comfort zone and try something new. For me this now meant sewing a different style t-shirt. The basic picture of this one is just a slight variation: v neckline, dropped shoulder but not too much, little accent line center front. The pattern is from Ottobre issue 5/2016. Let me say there's nothing wrong with the pattern, but it doesn't suit me.


Dropped shoulders are not my favorite, but felt I'd try again and thought they were not too much dropped. Wrong conclusion, the result was horrible.


I do have narrow shoulders and a full bust. Not a good combination for this.
On a positive note: I love the accent line center front. 

When I pinned the sleeve higher up, the look was beter already, even if done only provisionally.


The next thing I did was using a basic Ottobre t-shirt pattern (from a 2007 issue) and compared.


Quite a difference. I cut all the seams from the shirt, kept the hem on the bottom and on the sleeves. 


Better, although I think that the original width of the body was slightly better. For me the fit is a bit too tight in the back now and there's still a little pleat forming above the bust. It's a nice layering piece and I'll wear this version. 


The neckline was finished with a small strip of the same fabric. The construction of the original pattern was quite different and the center line a seam stitched inside out. I've cut it on the fold and stitched a very narrow "pleat".

A little detail on how I did that (I know a lot of you like this kind of detail!):

  • I pressed the center front
  • Put in a strip of water soluble material (tip: don't press with steam afterwards, it will wrinkle, look bad and give you a fright. When it's all solved it will all be straight again though! How I know.....?)
  • Stitched a straight line only a few millimeters away from the center front
  • Removed most of the soluble material
  • Continued further construction


That's become quite a long post.
Enjoy your day!


Monday, September 17, 2018

Experimenting

My wardrobe needs a few t-shirts added to it and I don’t particularly like t-shirt sewing. So I experimented with some different styles to make sewing them a little more interesting.

The neckline of this one was inspired by a rtw t-shirt. As a starting point I took the very basic t-shirt pattern from Ottobre (issue 2, 2006) which I’ve used often before. Only to notice when it was finished that it didn’t fit as well any more. Too tight around the bust area to my liking. I was ready to toss it when my daugher came home and I asked whether she would like to try it on. It’s a good fit on her and she liked it. Happy result after all.

P9152037

P9162050

There was just enough of the fabric left to squeeze out a basic shirt for myself. This is one size larger and so much better! But also very, very basic/boring. On the bright side: I have a new base again.

P9152033

This last one is Valetta from Schnittquelle, a German pattern company. I made a few changes and added a facing, instead of the fold over neckline hem as per the pattern instructions. I intended this to be a shirt with 3/4 sleeves and did change and sew it up like that. In all planning and thinking about how to draft the facing for the neckling I overlooked the fact that this has cut-in shoulders and the sleeve was a horrible fit (read: not fitting at all) at the shoulders. Cut off the sleeves with 1 cm at the armhole left to be used as facing. Ready for summer next year.

P9172053

Monday, March 28, 2016

About t-shirts and hemming with coverstitch

Pictures of the finished skirt have to wait. I want to hem my skirt with “steam a seam” tape but forgot to buy it and as most of my fabrics and notions are in storage, I had none available at all. So I spent my weekend sewing two t-shirts. The pattern is the Ann T-top from StyleArc:

image

I’ve made this pattern several times now and it’s a great basic. After the initial one last year (never blogged about as far as I remember) I removed the gathers in the front by folding up at waist level.

Until recently I used an old Ottobre pattern from 2007 as my base for t-shirts, which is still a great pattern. But, as you can guess, it’s in storage (by accident though).

Black and white top

Blue graphic

The neckline and hems of both t-shirts were finished with a coverstitch.

finished hem

I’ve had a love/hate relationship with my Janome coverstitch for quite a long time, but have become used to it and now it’s taken out and used regularly. For a long time I did not use it properly either and on the inside you could see the edge of the hem stick out above the stitches.  Recently I saw a tip about how to make the finishing on the inside neat. Looks good doesn’t it?

inside hem

What I did was

  • Measure and press the hem at an exact distance (a sewing gauge will help)
  • Baste the hem at the very edge of the hem. I preferred hand basting but the tip I saw used long, straight machine stitches. I found those more difficult to remove afterwards when I made a sample.
    basted hem
  • Stitch while guiding your foot over the basted line
    topstitching
  • Carefully remove the basting thread.

I did this both for the hem of the body as for the sleeves and it works like a charm. It might be a bit more work, but the result is much better.

Friday, May 16, 2014

Skirt detail and two tops


Thank you all for your kind comments on the skirt, it was a fun project to do. Special thanks to Anita from StudioFaro. She offered help if needed for my next attempt at the Double Drape Tee. I’m not making one very soon as I really have a huge to-do/to-sew list, but the offer is much appreciated.

AllisonC asked whether the ruffles were hemmed or double: they are hemmed with a narrow hem. It was difficult to see on the original but it is a narrow hem there too.

image

Vivienz asked whether I planned more of these and I might, it was an easy, relatively fast to make project and it would be nice to have it in a darker color. But you know how it goes: one day the mind is set to do something, the other day the fancy strikes to do something completely different.

I won’t bother you with my list as I’m notoriously not keeping to them (see the above). On it are nine garments I would like to make pretty soon, two of them are lingerie sets for my daughter and myself. And yesterday I managed to make two items of the list. Easy, quick projects, sewn in “production line”. It’s an old tnt Ottobre t-shirt pattern, for which I lowered the neckline.

The first fabric was bought at one of the fabric markets that are held here, the other was bought in Paris last month. As you can see even on the dressform pictures, the drape is different. The fabric from Paris has more drape. It shrank a lot in the laundry, I bought 1.5 meters, after washing it only 1.25 meter was left. These are casual shirts. I really need some as a few others are worn so much that they have to be thrown away because the fabric shows the wearing.


Out of nine planned projects, seven still to be made. Next project in next post.

Happy weekend all, I’m going to do a 5K run on Sunday (a ladies run). Luckily the weather has improved.