I love to share my projects. It's mainly sewing projects and a bit of knitting too.
Wednesday, November 28, 2012
Already not following instructions
Instead of the fold-over elastic for the upper part of the cups and straps, I've cut a seam allowance to the upper parts of lycra pieces and have sewn them right side to wrong side of the foam. Then turned it over to the right side of the foam. I'm curious to know whether this will effect the fit of the cups when it's finished. Time will tell.
BTW: Amy from Cloth Habit is starting a bra sew along in January. If you want to try making a bra and like some guidance and inspiration, you might want to check that out.
No lace this time, rather basic black and white. The outside of the cup.
The inside, looks neat this way I think.
Tuesday, November 27, 2012
Testing a bra pattern

The 3rd item I wanted to finish will have to wait. My eagerness to try a new bra pattern wins. Some weeks ago I was alerted to the site MakeBra.com. A Finnish company that sells bra patterns and some fabric and notions for sewing lingerie. When I first browsed the site I was interested, but did not yet order a pattern. Then they announed a downloadable pattern. Though I don’t like downloadable patterns so much, a bra doesn’t have that many pieces so the amount of printing and taping together would be do-able.
After checking the measurement charts (the downloads are for one size patterns) I decided to buy the DD75, a measurement I expected. I was very happy with the buying process, the link for the download was received immediately and the printed pieces were easy to understand (I’m not affiliated, just a happy customer).
The bra’s are for foam cups you make yourself. On the MakeBra site is an instruction for making a test version, which I did as this is almost new to me. With some remnant pieces of shoulder straps and wire channelling this was easily done. The cotton for the back muslin was cut wider, as there is no elastic. It looks very promising, the fit of the cups is good. I compared the front and back pattern part with my tnt bra pattern and it’s quite similar and the length at the bottom is exactly the same. I know this to be important. Also on the site are instructions for making the bra’s, I’m looking forward to trying this pattern for real. Stay tuned.
Inside
Tutorials–Pinterest
A little while ago I announced on the Sewing tutorials blog that I have stopped updating that site and will eventually take it down. I have realised though that I will miss some of those tutorials myself as well and want to keep a few links. So I started to use my Pinterest account more and started saving the links there, including a few links to my own tutorials (how vain).
For those interested I added a link to my Pinterest account on the sidebar. It’s a personal selection, I’m not trying to be complete in any way and will add to it occassionally. It’s quite a bit easier to do than the format I have on the blog, which might make for adding pins regularly.
Sunday, November 25, 2012
2 of 3 projects done
My week was very different from what I hoped and expected. Not a lot of time to sew after all. Work, having dinner with a friend, friends to dinner yesterday evening, daughter needing to be cheered up, unexpected visit to doctor with my son. Well, that sums op my week. All’s good now, but it gave a little bit of stress and not a lot of time to sew. But… 2 of the 3 projects finished. They both only needed about an hour to finish after I left them in an unfinished state earlier on.
First projects is a pj top. Nothing complicated. The fabric was given to me in the sewing weekend in the UK recently and is a lovely, soft cotton. I didn’t make sewing life more complicated and omitted the piping that is in the pattern envelope pictures. Too much hassle. The buttons are all a bit different (accidently thrown away a detail shot). A danish clothing brand always attached a button to the labels on their garments, even if it was only a t-shirt. I kept those buttons and now used them on this pj top, that’s why one is different in color than the others.
The other project was a bra I started in the UK weekend. Now I still have the panties to make (which was not the 3rd project to finish). I will make those next, so as not to keep this bra unworn too long.
Dressform pictures of a colour that I couldn’t name, but Pauline calls “mink". The lycra has some shine on it and is a nice match with the lace.
The inside: powernet in the side/back to give more support, the lycra is too thin to give me enough support. As always the under and side pieces of the cups are interfaced as well.
Sunday, November 18, 2012
Sewing friend, designer studio, lace shop and a dress
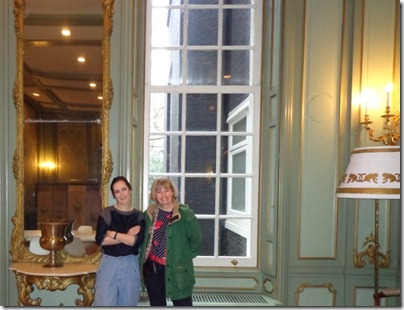
I had a wonderful weekend. Pauline was in The Netherlands again for work and stayed with me and my family this weekend. On Saturday we went to visit the design studio of Viktor and Rolf in Amsterdam which was possible through a business relation from Pauline. It’s located in a wonderful building on one of canals of Amsterdam, always a nice place. It was special to have a look “behind the scenes”. See Pauline’s blog for some more photo’s.
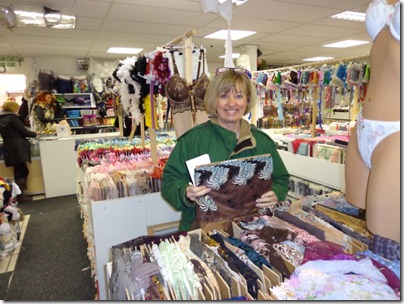
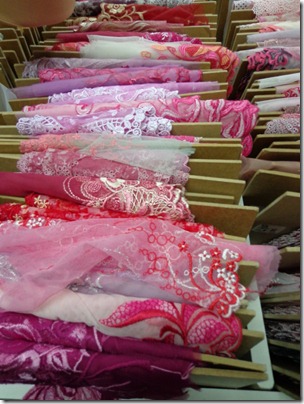
After this we went to a buttonshop and to the famous Kantje Boord shop. Always a treat, at home I was greeted with “was this all you bought, that’s not a lot???” so I behaved well. (I’ve started reorganizing and tidying my sewing room, when I post some photos of my lingerie collection/stash you will know that I certainly have no lack of material ;))
Thanks again Pauline for a lovely weekend.
As I said I started reorganizing and tidying my sewing room this afternoon. Very, very necessary. There are also a few ufo’s that call for finishing and a little backlog of reviews. I have promised myself that before starting on sewing something new, I MUST finish 3 items first. As there is a new bra pattern that my hands are itching to make, I’ll have to do the 3 items very soon. I made a quick muslin for the bra yesterday evening while Pauline was tracing a pattern and it looks promising.
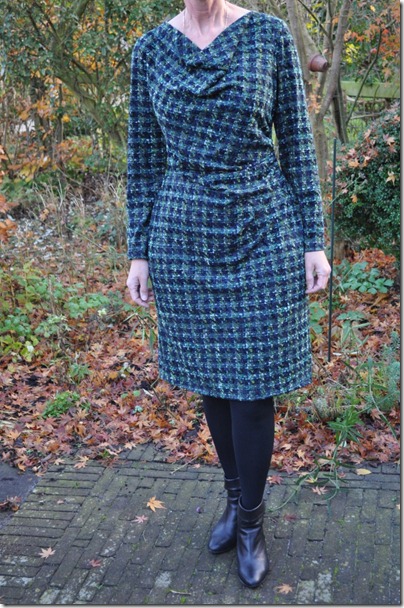
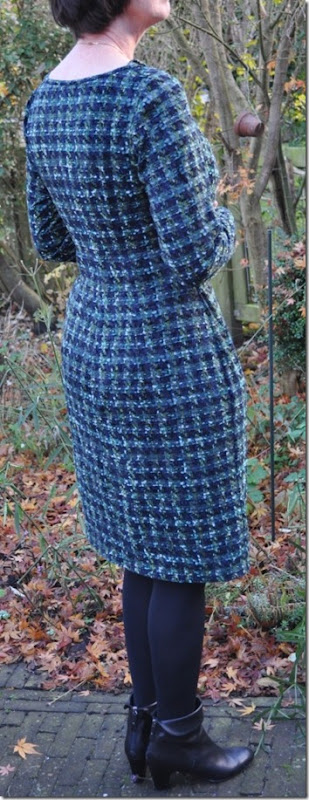
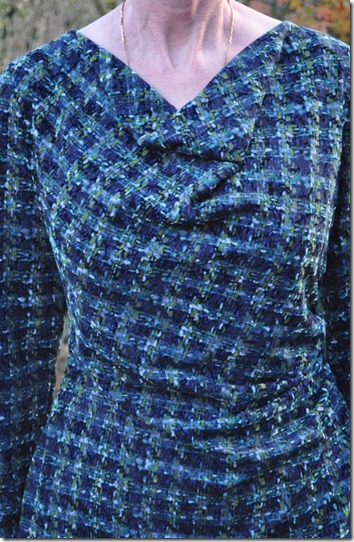
In my previous post I showed you the finishing of the neckline of a dress I was making. At least that is finished. It’s an easy pattern from the October issue from BurdaStyle. I’ve seen a few versions already, but am a bit too lazy now to look for the links. I used a stable knit fabric with a velvet feel to it. Because of the knit I thought it might be possible to omit the back zipper. Before serging the seams I have sewn the center back and side seams with large straight stitches and tried to get in and out of the dress. This worked and no zipper was used. This makes it to quite an easy dress which I quite like.
It looks like this week I can get some more sewing done, hope it works out that way. Stay tuned.
Sunday, November 11, 2012
Finishing a neckling
A bit of the sewing mojo is back, it feels like I haven’t been sewing for a long time, but in reality it’s not that long. I’m working on a dress from the October Burda issue. I changed the finishing of the back neckline and did not use the facing piece for it. I used the neckline finish I use for a lot my t-shirts. Based on a technique in a book, but not quite the same. Thought it might be a good idea to take some photos while doing this.
The neckline is cut with seam allowance, but when it’s ready the finished edge will be at the exact seamline.
I start with a 1 cm strip of fusible interfacing and fuse it at the seamline. I mark the exact seamline with tracing paper, hence my somewhat irregular seam allowances. I bought my interfacing cut on the bias 1 cm wide and have used pro-tricot fusible interfacing from Pam (off the cuff style) for this purpose before with excellent results. The bias or the tricot interfacing have the necessary stretch to make a curve easily.
To stabilize the seamline the seamline is stitched with small straight stitches.
I use a 3.5 cm wide (1 3/8 inch) strip of fabric that is serged on one side. Then it is pinned with the edge exactly to the small stitches that stabilize the seamline, stretching it a little. Then I placed the edge of the sewing foot exactly at the edge of the strip of fabric and stitched with a normal straight stitch.
Next step is to cut off the seam allowance.
The strip of fabric is folded over and ‘stitched in the ditch’, which finishes the neckline.
Next will be my finished dress. Should be ready this evening.


