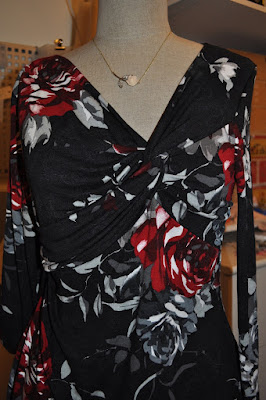
A bit of the sewing mojo is back, it feels like I haven’t been sewing for a long time, but in reality it’s not that long. I’m working on a dress from the October Burda issue. I changed the finishing of the back neckline and did not use the facing piece for it. I used the neckline finish I use for a lot my t-shirts. Based on a technique in a book, but not quite the same. Thought it might be a good idea to take some photos while doing this.
The neckline is cut with seam allowance, but when it’s ready the finished edge will be at the exact seamline.
I start with a 1 cm strip of fusible interfacing and fuse it at the seamline. I mark the exact seamline with tracing paper, hence my somewhat irregular seam allowances. I bought my interfacing cut on the bias 1 cm wide and have used pro-tricot fusible interfacing from Pam (off the cuff style) for this purpose before with excellent results. The bias or the tricot interfacing have the necessary stretch to make a curve easily.
To stabilize the seamline the seamline is stitched with small straight stitches.

I use a 3.5 cm wide (1 3/8 inch) strip of fabric that is serged on one side. Then it is pinned with the edge exactly to the small stitches that stabilize the seamline, stretching it a little. Then I placed the edge of the sewing foot exactly at the edge of the strip of fabric and stitched with a normal straight stitch.


Next step is to cut off the seam allowance.

The strip of fabric is folded over and ‘stitched in the ditch’, which finishes the neckline.


Next will be my finished dress. Should be ready this evening.


 . And I needed them to get my head round the construction. It was not the twist itself that gave me problems, but the way the upper part was folded to the right side of the top.